
In all honesty, I only use single key shortcuts as opposed to multi key for the simple reason that I can’t remember much beyond a single keystroke. I thought about printing every shortcut and hanging it on my office wall for reference, but that would defeat the purpose of using shortcuts in the first place as I’d have to spend additional time scanning the printout to locate what I’m looking for.
In this 12 minute video, I discuss the 9 single key Lightroom shortcuts I use everyday. These are not in any specific order, I use the first shortcut just as much as I use the last. I even have a bonus “setting” at the end and if you’re a little obsessed with organization then you’re going to love this one!
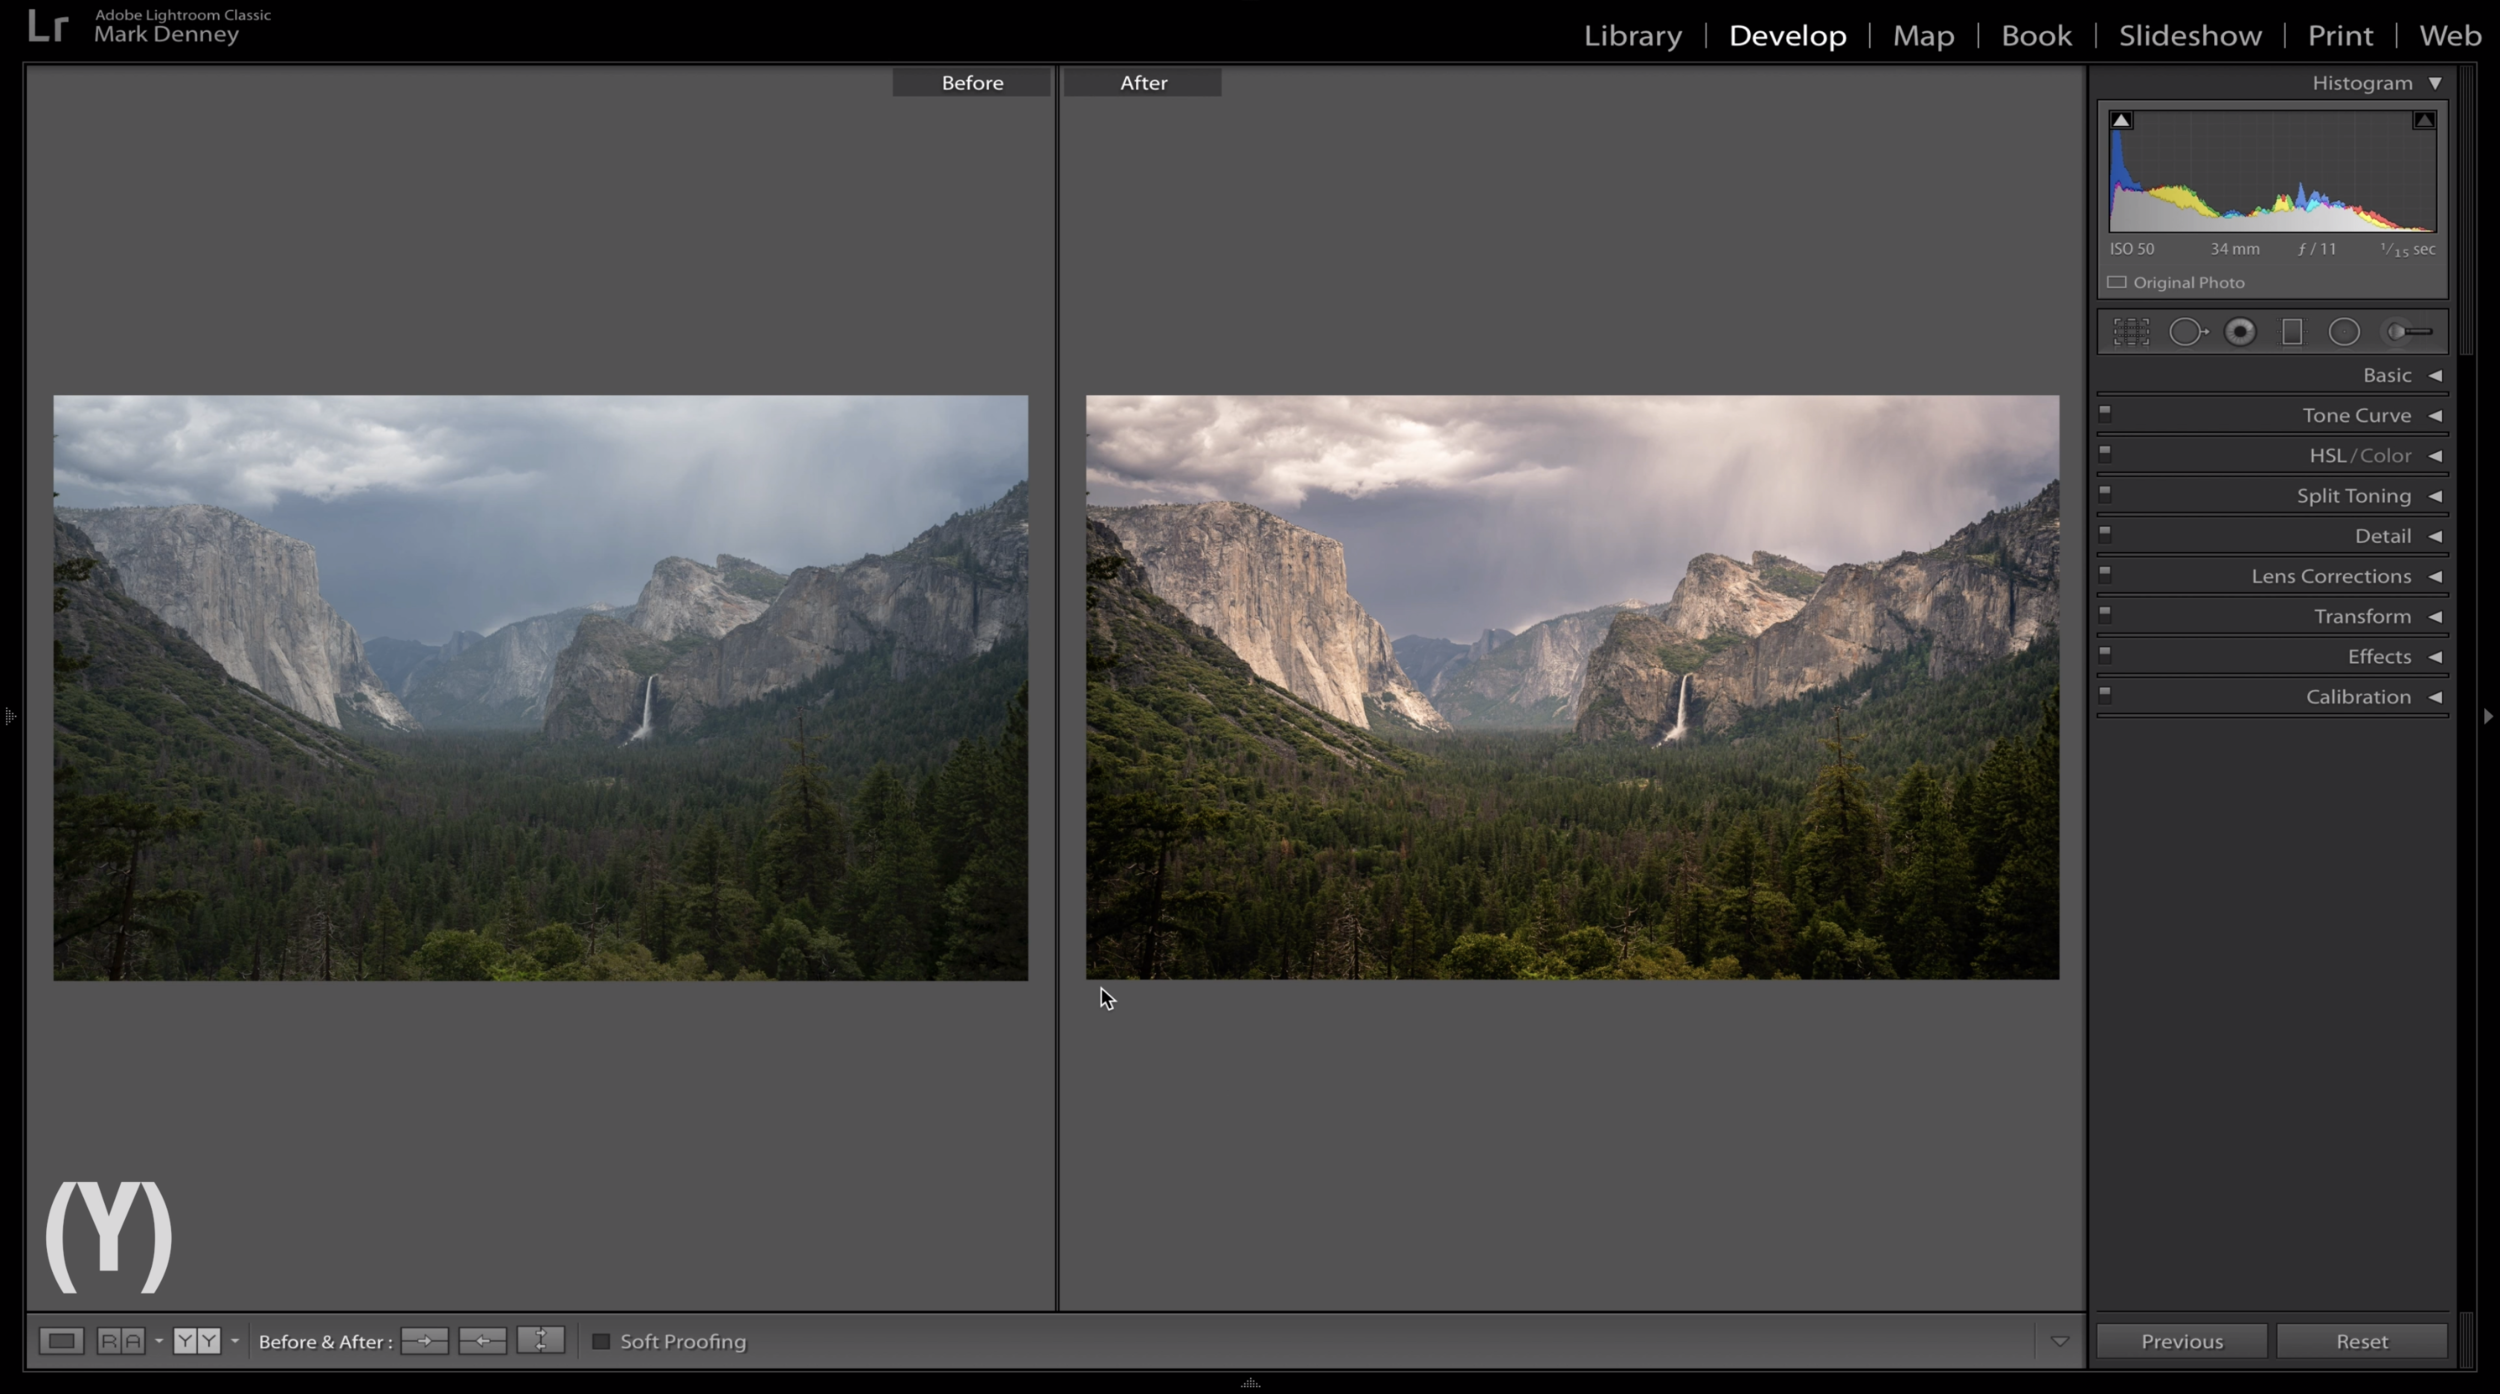
1. Shortcut Key (/) & (Y) Before & After
This is one of my favorite ways to see how far I’ve taken an edit by comparing the starting point to what the image looks like now.
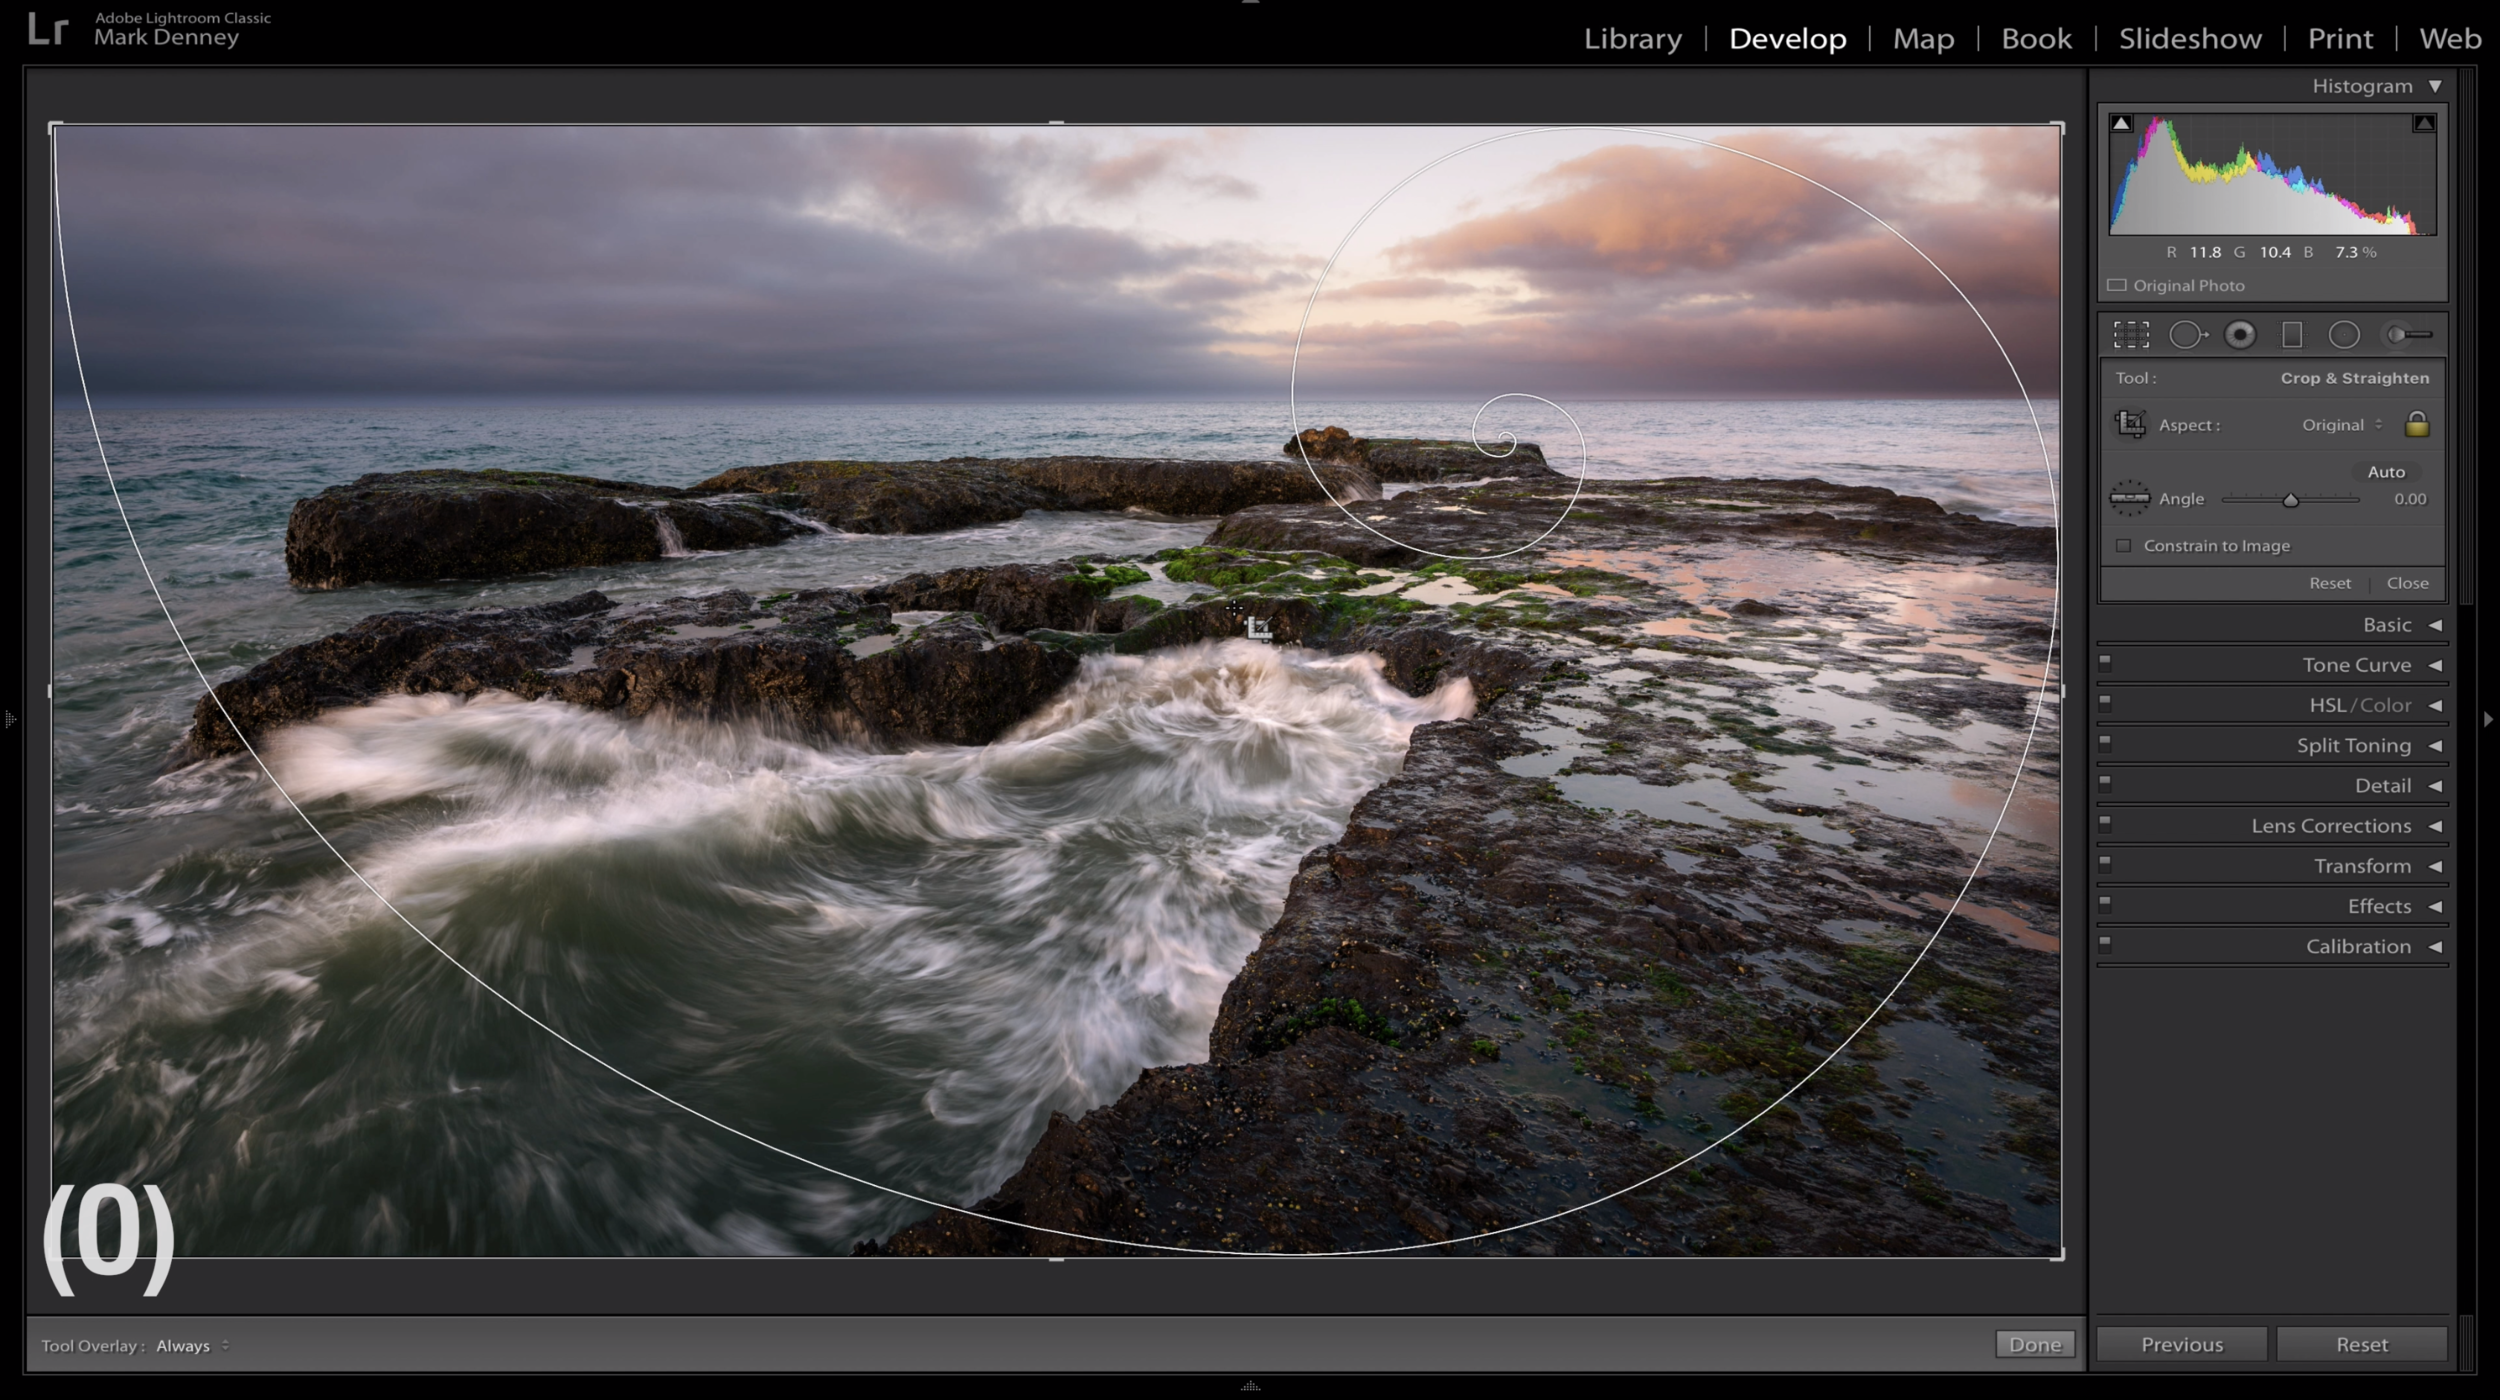
2. Shortcut Key (O) Crop Grid Overlay
This is a great shortcut to aid in cropping your image in order to perfect the composition. Pressing O repeatedly will cycle through all the available options.
3. Shortcut Key (J) Clipping Indicator
The easiest and fastest way to determine if you have areas of your image that are either over or underexposed (red identifies overexposed and blue identifies underexposed areas)

4. Shortcut Key (V) Convert to Black & White
I don’t often process images in Black & White, but that doesn’t mean I don’t like to quickly check to see if it’s a viable option.

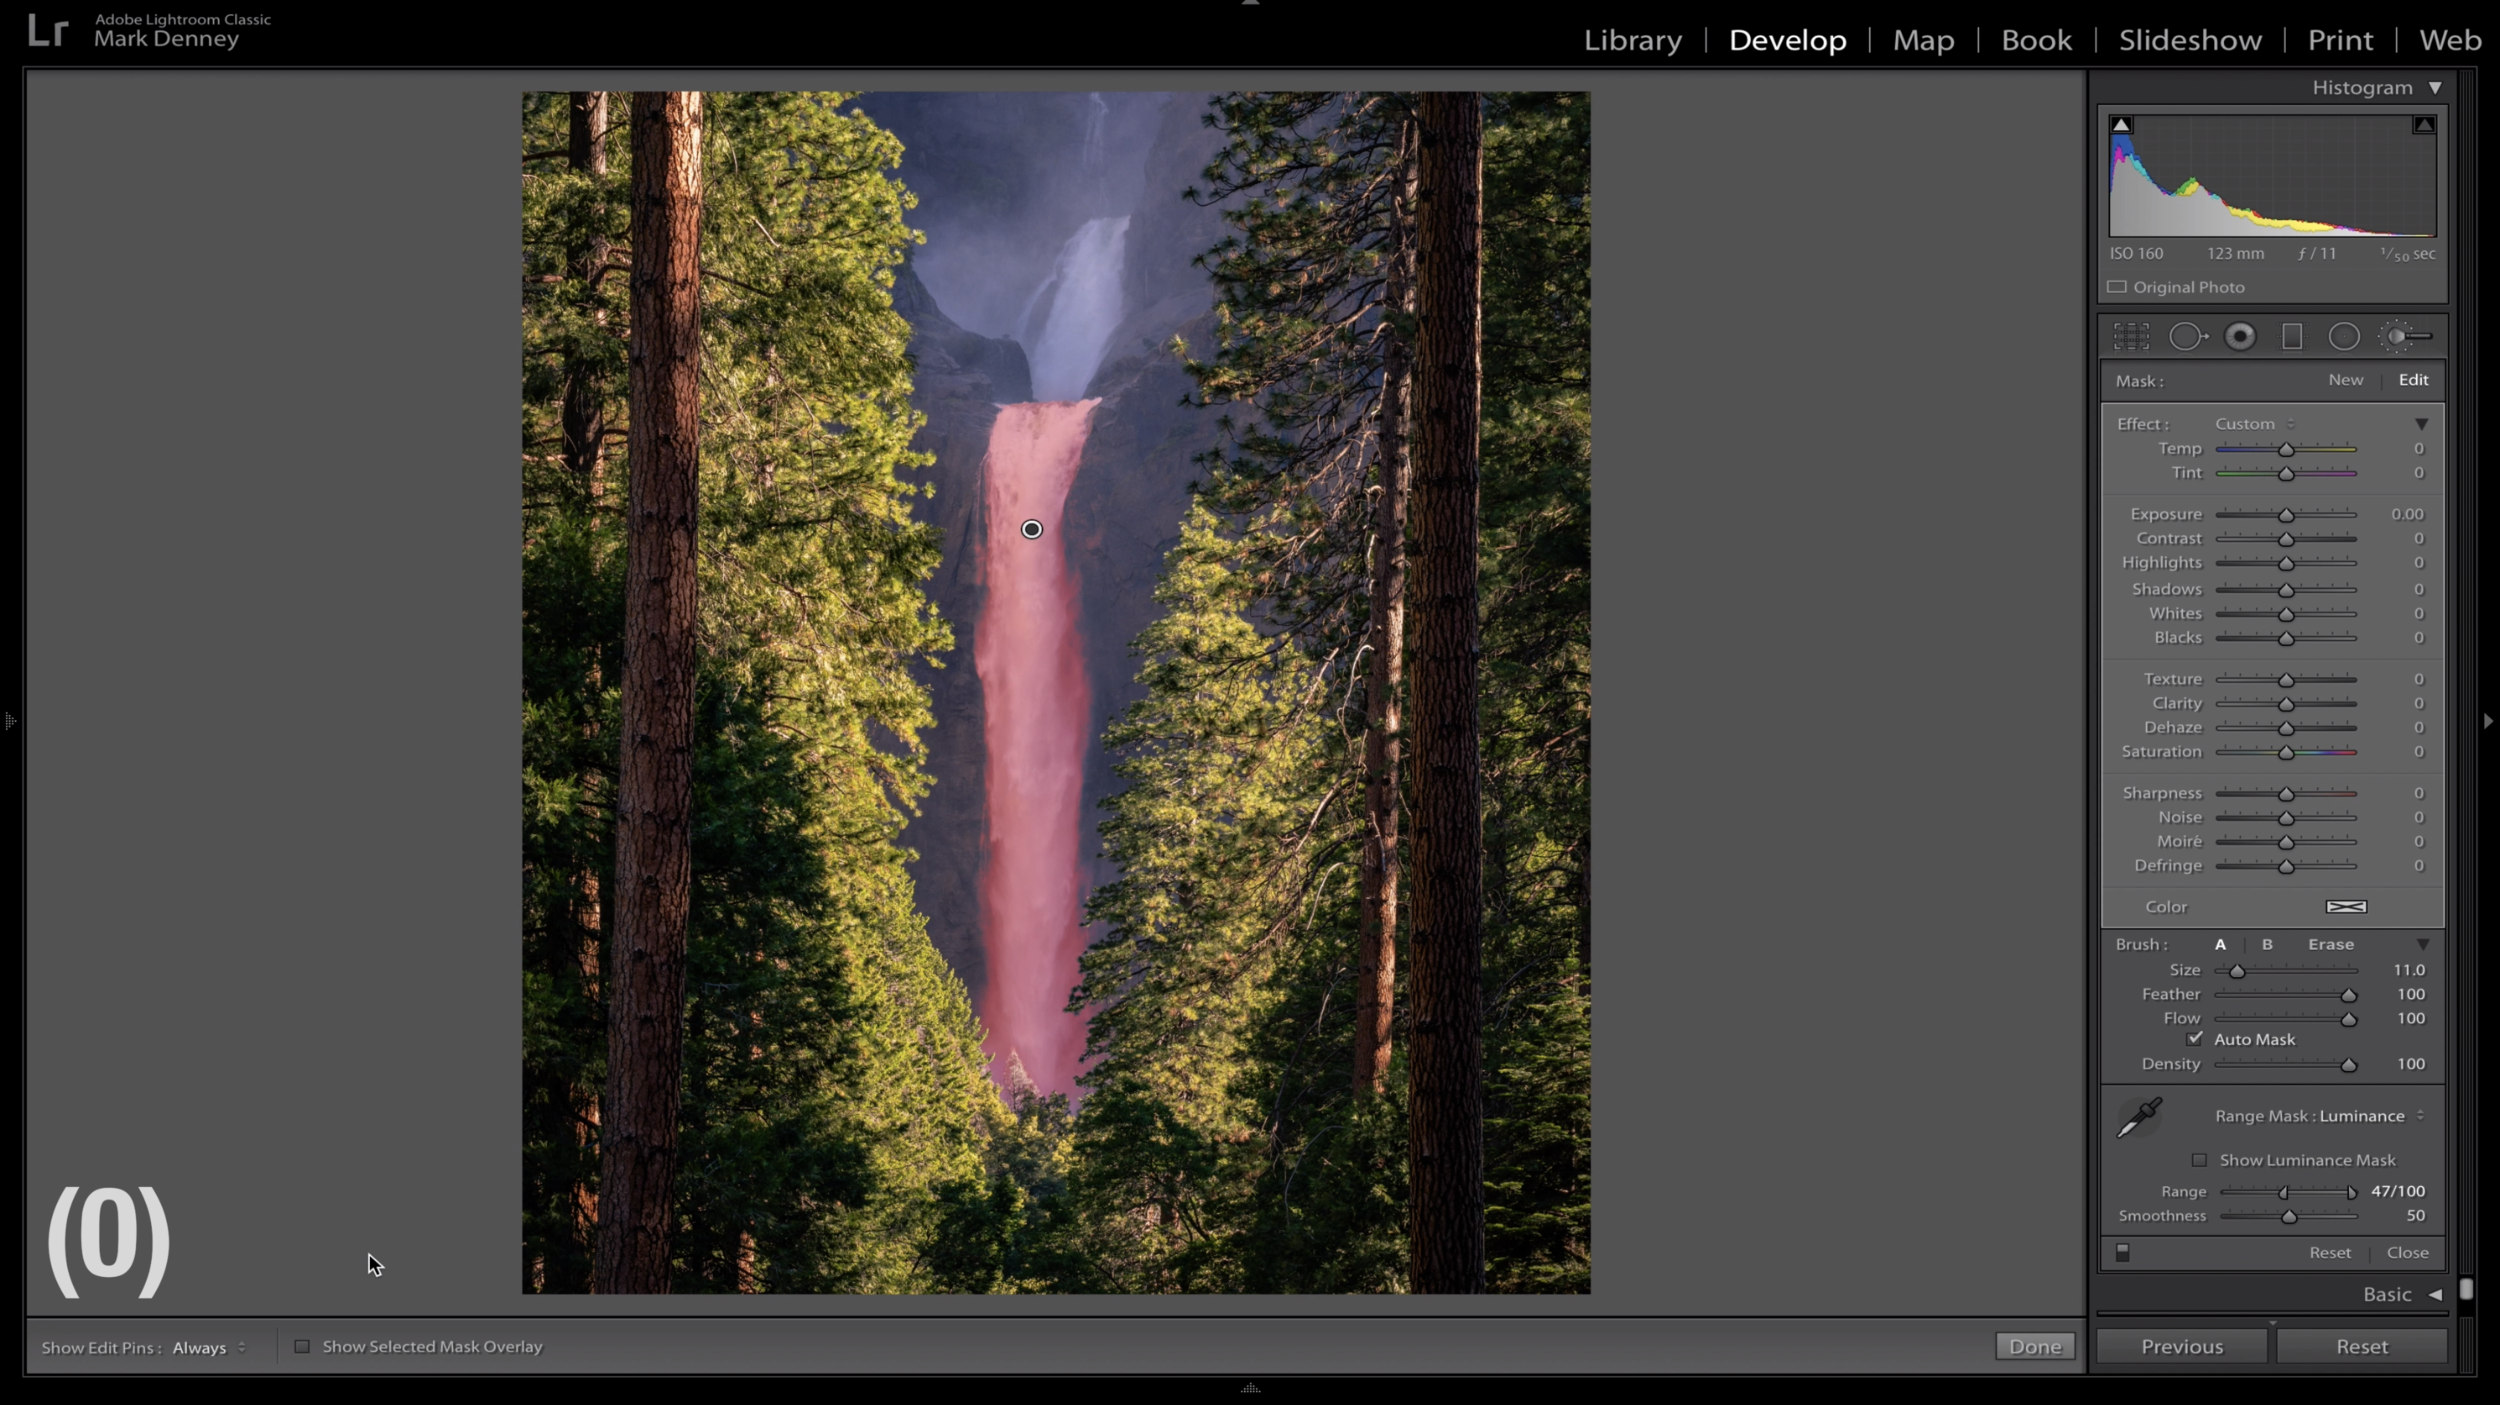
5. Shortcut Key (O) Show Mask Overlay
The importance of this one speaks for itself! Being able to quickly see what area of your photograph is impacted by a local adjustment is critical.
6. Shortcut Key (N) Survey Mode
If you take multiple versions of the same image with minor changes in settings and composition then this ones for you. This shortcut will help you easily decide which photo is the keeper.

7. Shortcut Key (D) & (G) Develop and Library Grid
This might be the single most traveled path for all Lightroom users - the Library Grid to the Develop Module and these single key shortcuts will help you quick ly navigate between them both.
8. Shortcut Key (L) & (F) Lights Out and Full Screen
This is great for eliminating distractions from your screen to see how an image you’re editing is coming together.

9. Shortcut Key (X) Crop Flip Aspect Ratio
Sometimes I like to crop an image taken in a landscape orientation into a portrait orientation and this shortcut is a great way to quickly do just that.

And, for the bonus tip - right click the header of any section within the Develop Module and select “Solo Mode”. In my opinion this is one of Lightroom’s best kept secrets to keeping your panels organized without having to close each panel manually after using it.

Hopefully you didn’t know all of the shortcuts mentioned and were able to pick up a couple new ones that you can apply to your editing workflow moving forward.
Mark